All-Fit Lip Kit Installation How-To Video
INSTALLATION INSTRUCTIONS
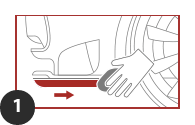
After holding the lip up to the mounting area to visualize where it will be secured, thoroughly clean the underside of the bumper (or vehicle side) with the provided alcohol pad. Next, apply the provided adhesive promoter to the mounting area.
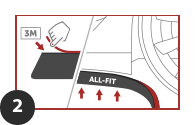
Working from one end to the other, peel off a short section of the tape backing and then firmly press the adhesive portion of the lip to the mounting area.
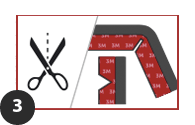
If necessary, you can cut a "V" or "I" shape into the tape portion of the lip to accommodate any sharp bends in the bumper.
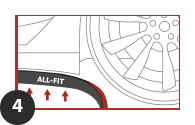
Continue applying the lip across the mounting area. Be sure to test-fit each portion before removing the tape backing. That way, if you have to adjust for a bend in the bumper, you can.
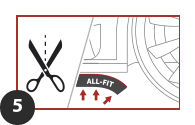
Once you get to the end of the mounting area, cut off the excess lip.
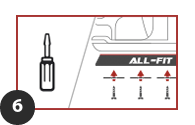
While it's optional, we recommend using the provided OEM-grade harware to attach the lip to the bumper. There's enough hardware to install a screw and washer every 12 inches or so.*
*NOTE: Using the provided screws and washers maximizes the durability of your All-Fit lip. Just like mounting a fiberglass, plastic, or carbon-fiber lip to your vehicle, screwing your All-Fit lip into place ensures it will last.
EASY 3-STEP INSTALL

The included 3M adhesive tape provides an excellent bond on most vehicles. However, many prefer to use the provided OEM-grade screws and washers for maximum durability.
